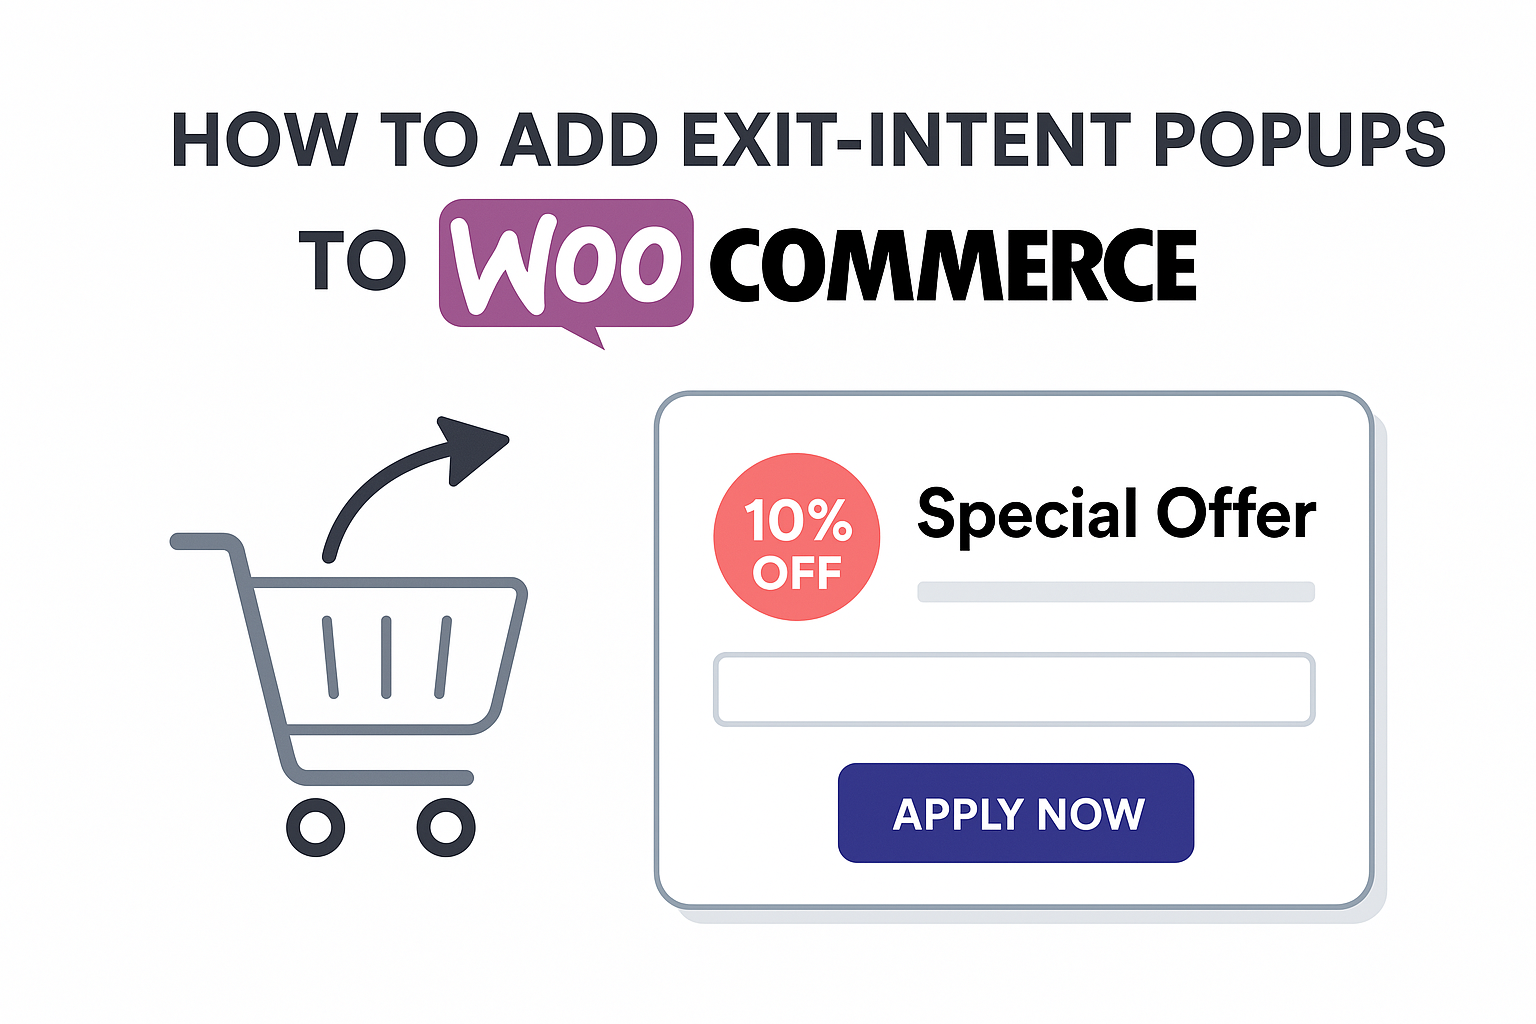
How to Create an Effective Exit-Intent Pop-up with Exit Discount
March 31, 2025

Rodion
Ecommerce founder — built and scaled multiple online stores before creating Exit Discount. I know the grind of running an online business, and now I help others boost sales with simple tools that actually work.
How to Create an Effective Exit-Intent Pop-up with Exit Discount
Attracting visitors to your website is just the first step to success. Much more challenging is keeping them engaged if they decide to leave the page. In such cases, the chances of them returning are slim. One effective way to improve conversion and boost sales is by using exit-intent pop-ups. In this article, we’ll show you how to easily and quickly create and set up an Exit-Intent Pop-up using Exit Discount.
Step 1: Authorize in Exit Discount
Before creating a pop-up, you need to sign in to our service Exit Discount. You can do this by clicking "Login" in the upper-right corner of the homepage. After logging in with your email, you'll gain access to the dashboard, where you can create pop-ups for your website.
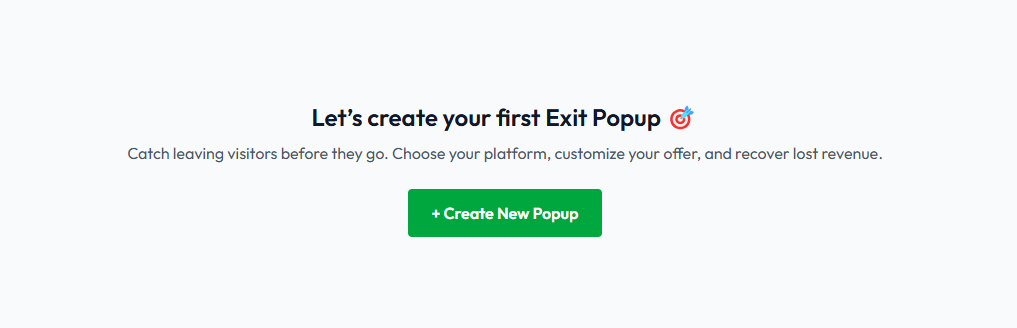
Step 2: Create a Pop-up
Once you're logged into your Exit Discount account, click on the "Create New Popup" button.
This will open a pop-up editor consisting of three sections:
- 1. Popup Settings
- 2. Colors
- 3. Popup Configuration
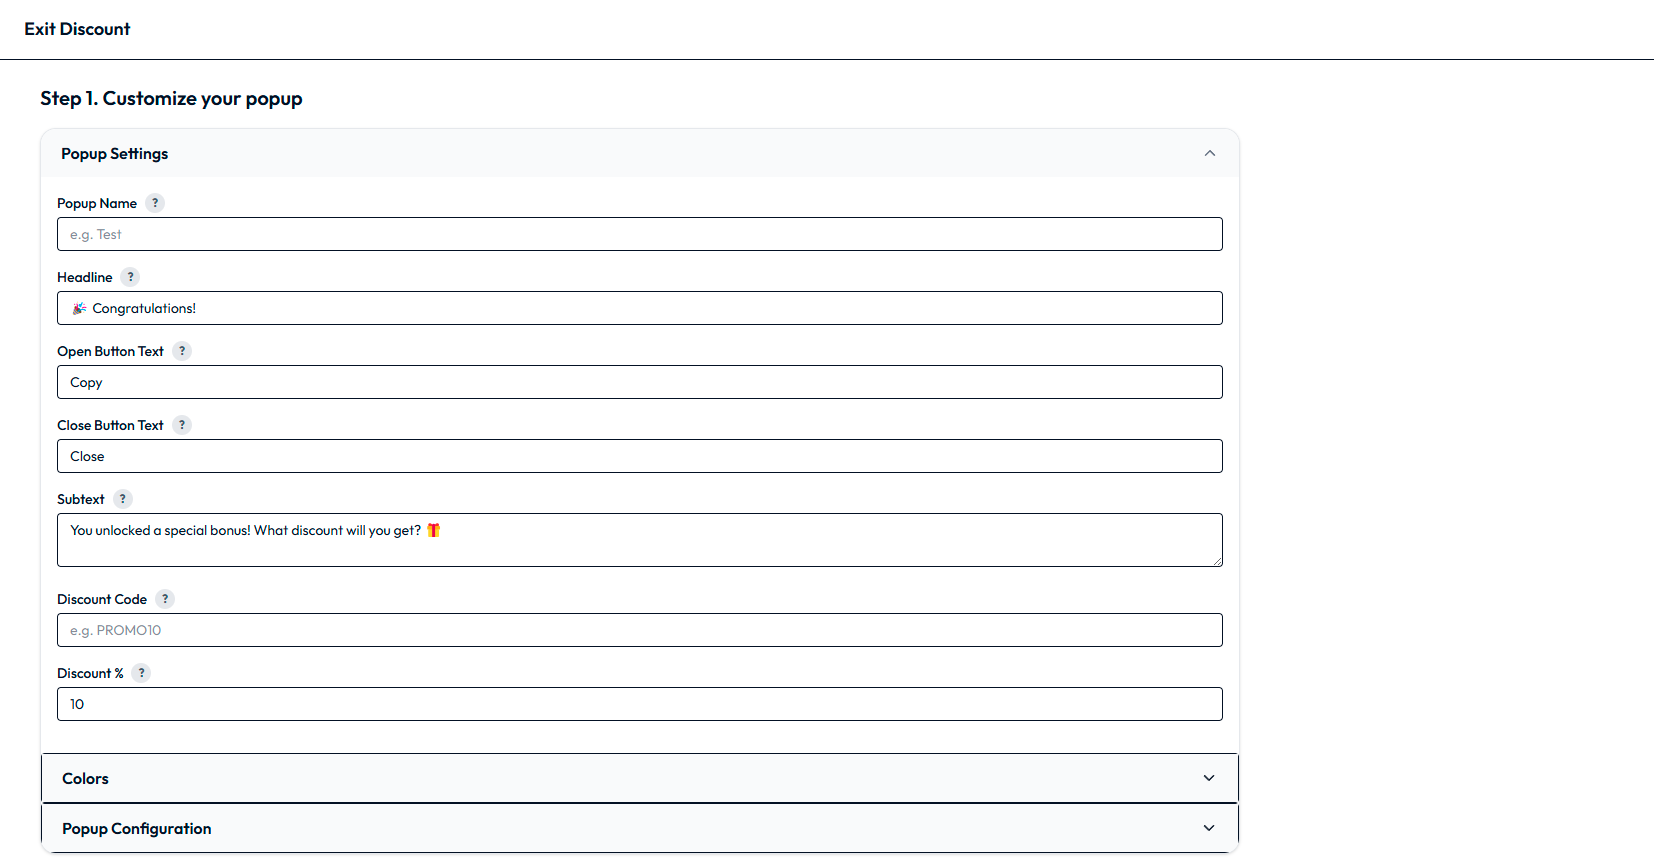
Step 3: Configure the Content of the Pop-up
Popup Settings
In the Popup Settings section, you need to set the following parameters:
- 1. Popup Name
- 2. Discount Code
- 3. Discount Percentage
You can also modify the text of any element of the pop-up in this section.
Colors
In the Colors section, you can customize the colors of the pop-up’s elements to match your website’s design. You can leave the default color scheme if you prefer.

Popup Configuration
In the Popup Configuration section, you can adjust the shape, size, and border-radius of the pop-up.

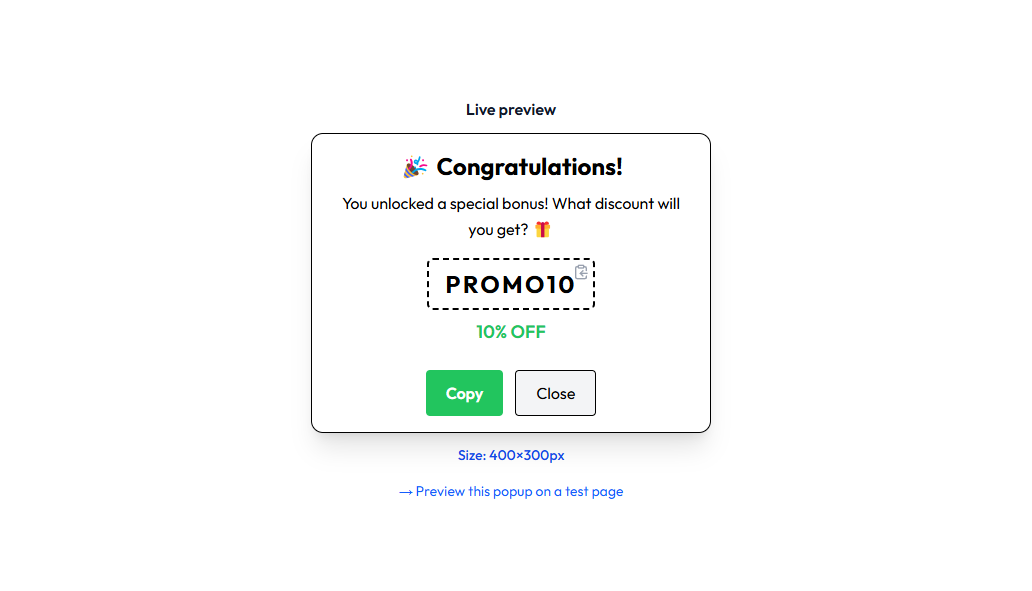
On the right side, in the Live Preview block, you can track the changes to your pop-up in real-time. By clicking on Preview this popup on a test page, you can test the created pop-up in a new tab.
Step 4: Choose Your Platform
After setting up the pop-up, the next step is to select the platform for which you want to create the pop-up.
Choose the required platform and click Create Popup.
Step 5: Embed the Pop-up on Your Website
Once the pop-up is created, you will be directed to the page with your pop-up, where you will find the JavaScript code to embed the pop-up on your website.
Copy the code and paste it according to the instructions provided below the copy button.
Step 6: Test and Verify
After adding the code to your website, test the pop-up to ensure it is working correctly. Try to leave the page and make sure the pop-up appears when a user is about to exit the site.
Conclusion
Now you have everything you need to create an effective Exit-Intent Pop-up using Exit Discount. By following this guide, you will be able to set up a pop-up that will help increase conversions on your website and take your business to the next level.
Don't forget to track your results to see which offers and pop-up designs work best. Regularly test new strategies to maximize your pop-up's effectiveness!